
Blog
Discover the latest Microsoft Best Practices for business transformation, cloud adoption, and digital modernization.
Blog categories:


How to revitalize your organizational culture with technology
Kat Casiano2024-04-25T14:30:52-04:00April 25, 2024|Blog, Modern work|
When constantly jumping from one project to the next, it’s easy to forget to slow down and appreciate what you and your team have accomplished. A supportive work environment [...]
Creospark appoints Chief Innovation Officer to drive AI transformation
Linda Chen2024-04-18T17:01:50-04:00April 18, 2024|Blog, Modern work|
Creospark is excited to announce the appointment of Eric Overfield as our Chief Innovation Officer (CIO). In this pivotal role, Eric will lead our AI strategy and ensure that [...]


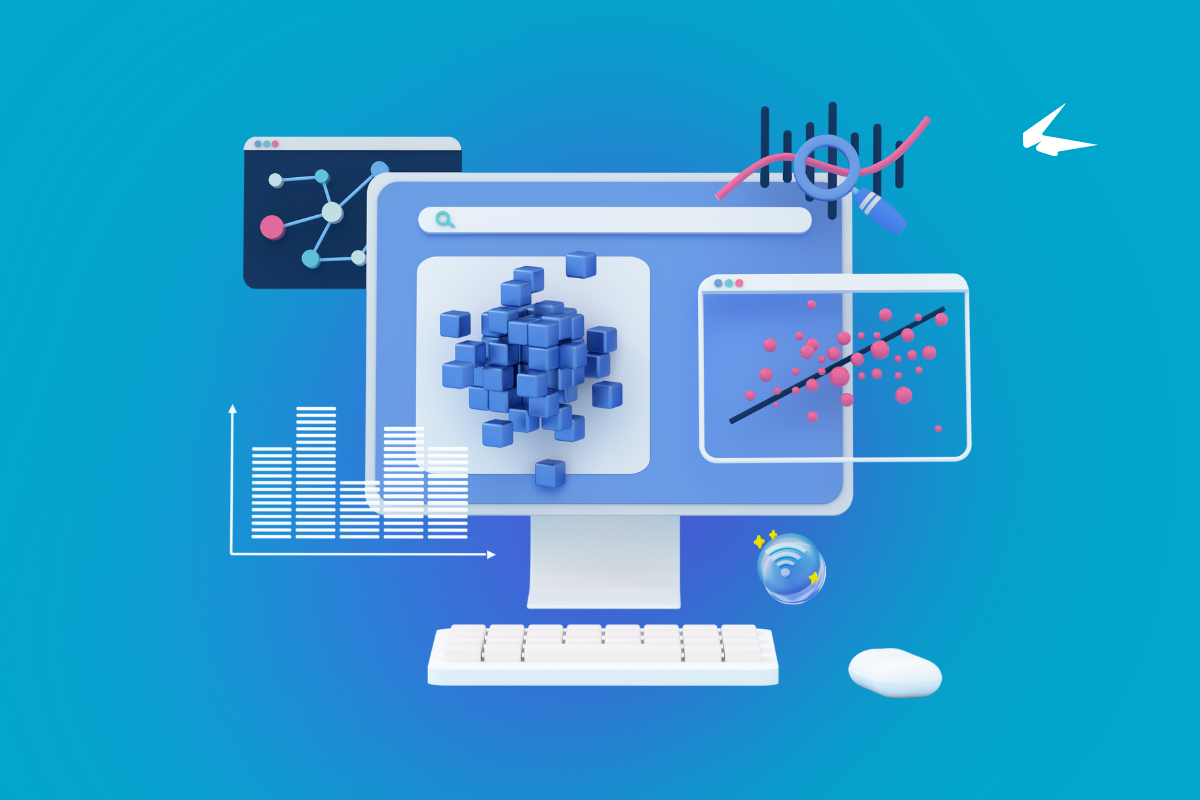
What are Power Platform connectors?
Cristall Amurao2024-04-16T13:56:46-04:00April 15, 2024|Blog, Modern work|
In today's interconnected digital landscape, seamless integration and data connectivity have become paramount for organizations striving to achieve operational efficiency, enhance collaboration, and drive innovation. Microsoft's Power Platform, a [...]

How to prepare your data to get the best results from AI
Jed Cawthorne2024-04-15T13:58:57-04:00April 15, 2024|Blog, Modern work, Tips & How-to|
Artificial intelligence (AI) is a powerful tool that can help your businesses automate data processing and derive value. However, the quality of the results produced by AI algorithms is [...]
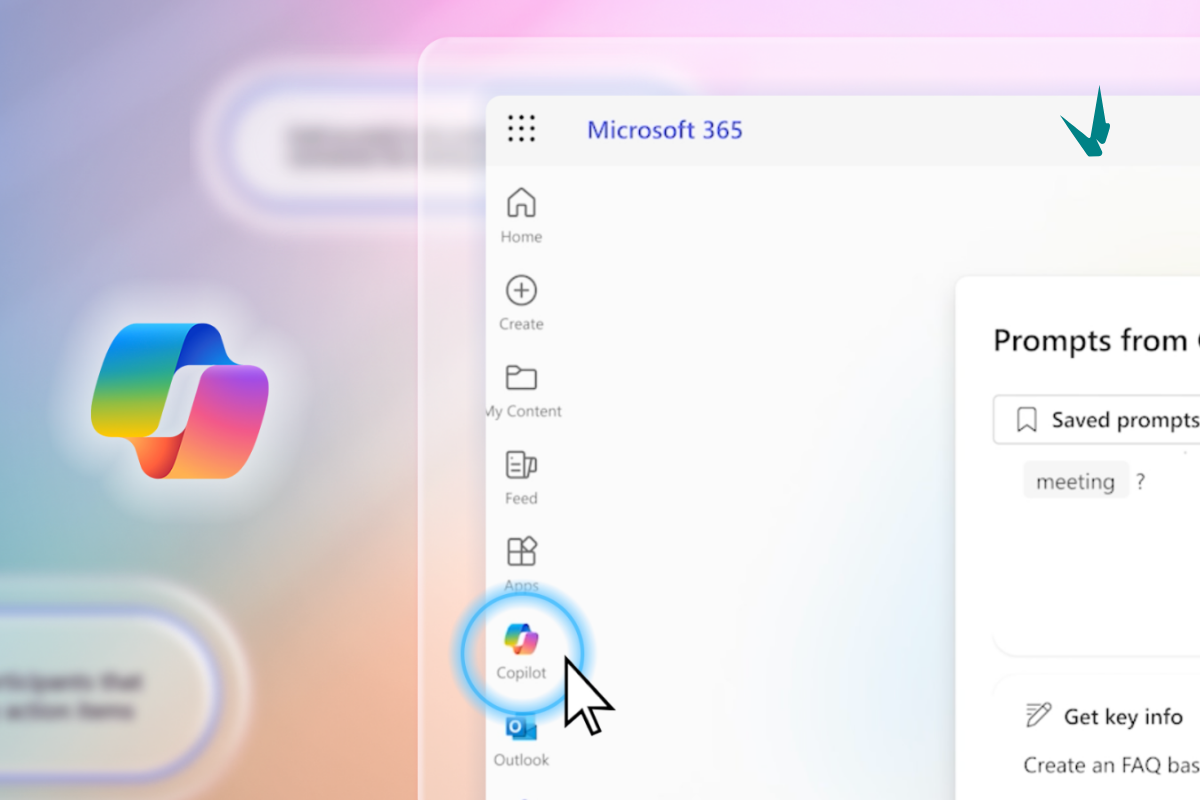
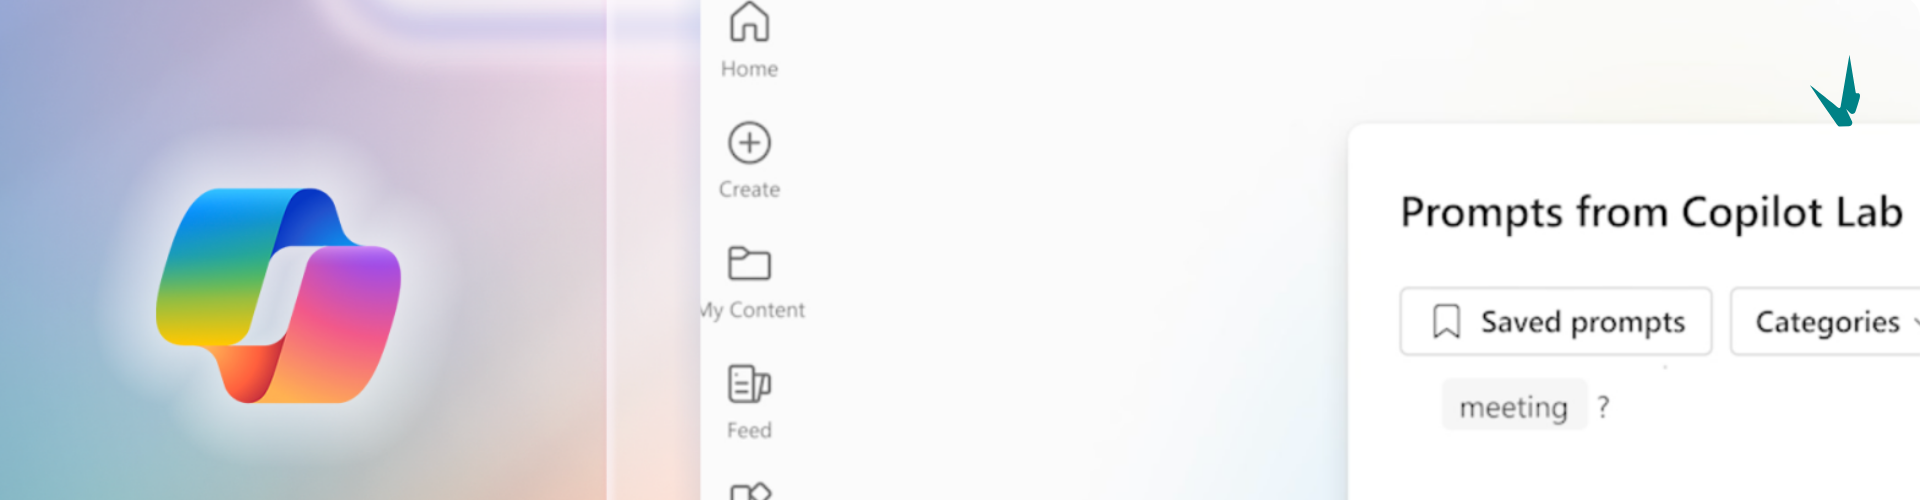
How to maximize your AI investment in Microsoft Copilot
Jed Cawthorne2024-04-11T17:16:21-04:00April 11, 2024|Blog, Modern work, Tips & How-to|
You’ve heard about ChatGPT, but what about Microsoft Copilot? What if we were to tell you that Microsoft Copilot can do what ChatGPT does, but more as an AI [...]
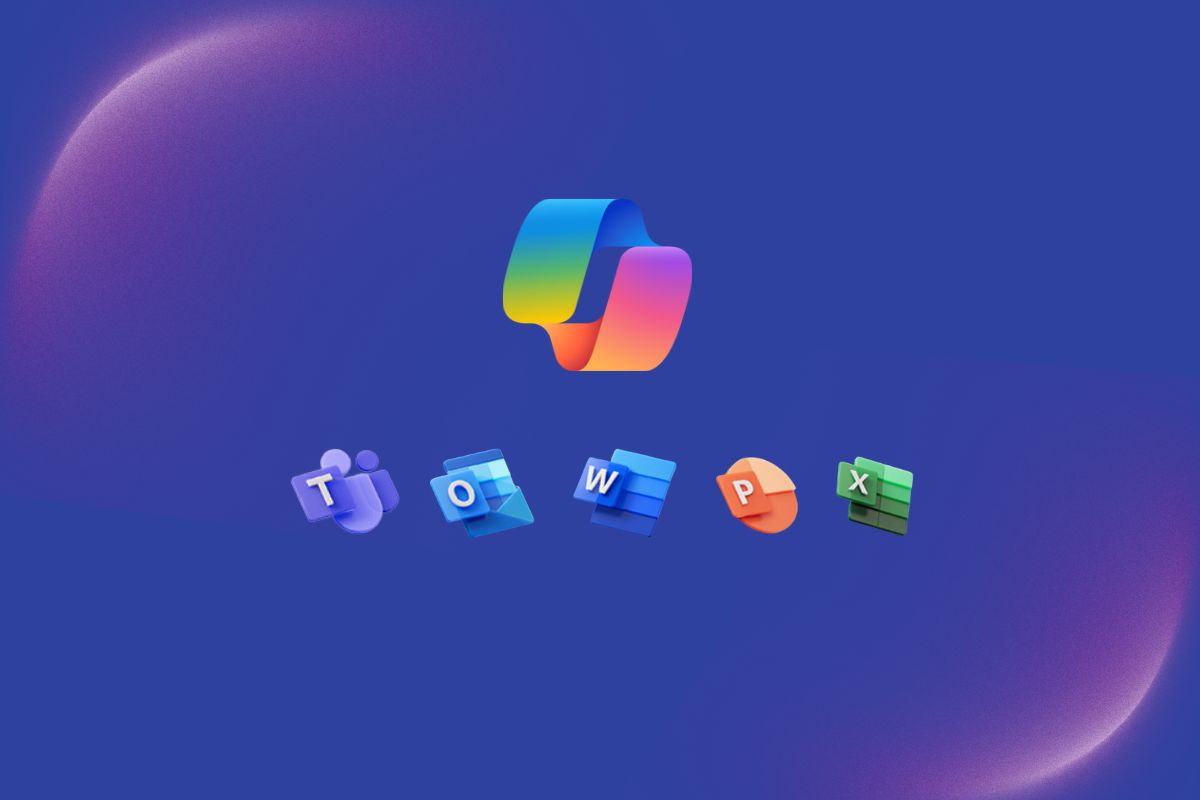

62 real world use cases of Copilot in Microsoft 365
Cristall Amurao2024-04-15T09:38:06-04:00April 10, 2024|Blog, Modern work, Tips & How-to|
Generative AI is the new frontier, and among all the emerging models, Microsoft Copilot stands out with its deep integration with the Microsoft 365 suite. Copilot enables users to [...]

Microsoft 365 Copilot vs. Google Workspace Gemini
Noorez Khamis2024-04-05T16:30:53-04:00April 5, 2024|Blog, Modern work|
With the release of many new AI tools, it can be hard to decide which is the best one to use, especially in conjunction with your cloud office tools. [...]

What is Microsoft AI Builder?
Cristall Amurao2024-04-04T09:15:37-04:00April 4, 2024|Blog, Process transformation, Tips & How-to|
Interested in building an AI model tailored to your business needs but not sure where to start? Microsoft's AI Builder, part of the Microsoft Power Platform, is your all-in-one [...]

Enterprise Plan Comparison Microsoft 365 vs. Google Workspace
Noorez Khamis2024-04-05T16:42:51-04:00April 1, 2024|Blog, Modern work|
If you’re a larger organization looking to migrate to a cloud office, chances are that you’ll be presented with enterprise plans from the two market leaders, Microsoft and Google. [...]


Curating a Castle for your Copilot to Shine
Jed Cawthorne2024-04-12T12:16:37-04:00March 26, 2024|Webinars|
Governance & Data for AI Success Copilot can be your ally or another frustrating tech tool you have to deal with. If you put garbage in your Copilot, you [...]

Microsoft 365 Business Premium vs. Google Workspace Business Plus
Noorez Khamis2024-04-05T16:44:45-04:00March 26, 2024|Blog, Modern work, Tips & How-to|
It’s easy to be struck with decision paralysis when considering all the cloud solutions on the market. There seems to be an endless number of services and licenses available, [...]

Microsoft 365 Business Standard vs. Google Workspace Business Standard Plan
Noorez Khamis2024-04-05T16:45:30-04:00March 20, 2024|Blog, Modern work|
Migrating to a cloud office can be enough of a headache. It doesn’t help that both Microsoft and Google offer four different business license tiers. This five-part series will [...]


